As a continuation of celebrating my dear Priya Aks B'day I made these colorful Suji Crystal cookies today. They turned out absolutely yum, to keep in mind the theme of doing recipes of different colors I went ahead with this recipe. Aks I hope your day if filled with loads of surprises to keep you happy. And as excited as you are we all your friends are so so excited to share you all our virtual treats today. I hope they are pure feast for your eyes and that you virtually enjoy all the goodies we gobbled up saying your name :P.
Happy Birthday once again to one lovely Priya Aks.
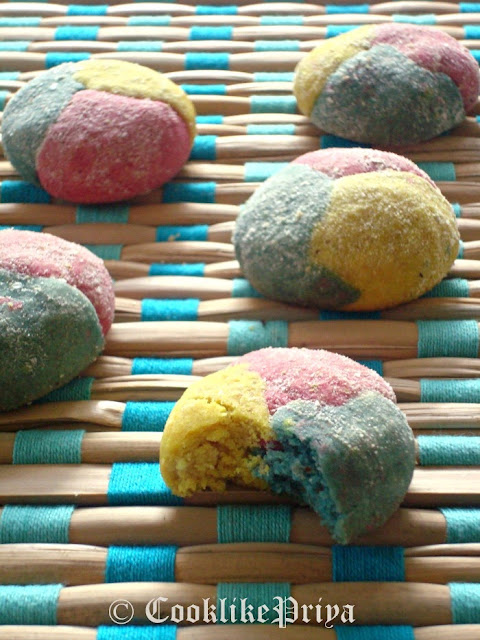
May your birthday and the days to come be as colorful as you are :-)
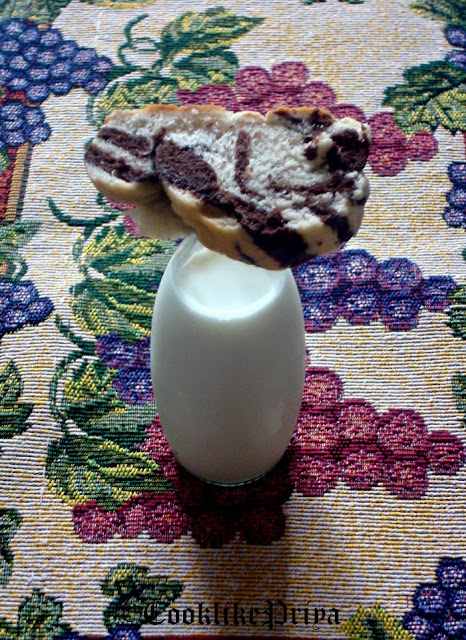
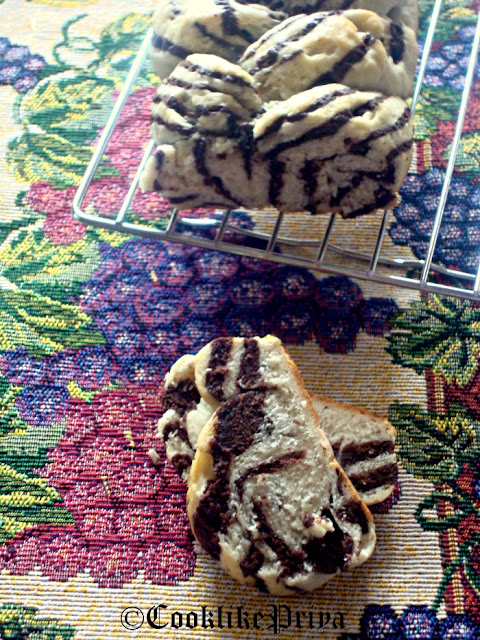
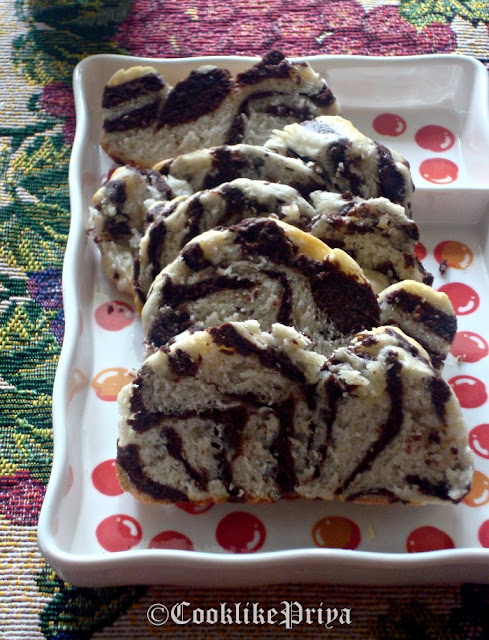
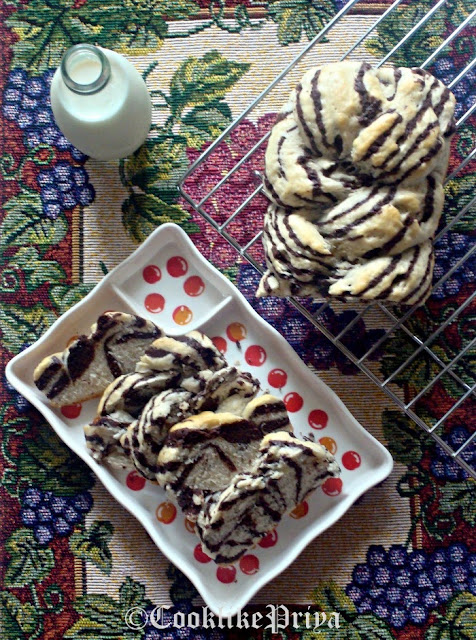
Suji Crystal Cookies as it is named does not contain any sooji/ rawa and I wonder why they were named so. A Malaysian delicacy made with melted ghee, flour, almond meal and raising agents colored and formed into marble effect cookies. They taste fabulous and simply melt in your month. Great for a kids party or any birthday celebration, these cookies are sure a hit with almost anyone. I also want to thank Reshmi and Uma for this beautiful recipe, loved it so so much.


SUJI CRYSTAL COOKIES RECIPE
Makes ~ 10 medium to large cookies
Prep time ~ 15 mins
Bake time ~ 15-20 mins
Ingredients
All purpose flour/ Maida - 1 cup
Baking powder - 1/2 tsp
Baking soda -1/2 tsp
Almond meal/ powdered almond - 1/2 cup
Powdered sugar - 1/2 cup
Melted Ghee - 1/2 cup
Vanilla extract - 1 tsp
Salt - a pinch
Edible food colors - pink, blue, yellow (any color of your choice)
Caster Sugar - 1/4 cup
Method
- Combine flour, baking powder, baking soda, salt sieve together add icing sugar, vanilla extract, almond meal and melted ghee (room temperature) little by little to form a firm dough. Set aside for 15 mins
- Now divide the dough to 3 parts and in keep them in separate bowls. Add the food colors and knead for few minutes to combine well
- Preheat oven to 150 C for 15 minutes and line a baking tray with parchment / butter paper, set aside
- Now take a tsp of dough from all 3 colors and roll together to form a marble effect. Place the rolled dough on the prepared tray. Repeat the same for all the dough.
- Place in pre-heated oven and bake for 15-20 minutes. Remove from the oven and place on a cooling rack. Once the cookies completely cool down roll them in castor sugar and place in a serving tray
Cooks Wisdom
- Make sure you roll the dough well do that the cookies are firm and hold shape.
- You can make your own almond meal by blending almonds in a mixer for 30 secs, do not blend more than that it will turn oily
- Cookies spread a little so leave space between cookies before baking them
- You can use your favorite colors for the dough
-Once they cool down store them in air-tight container to enjoy later
- Measure ghee after melting and also measure icing sugar after powdering.

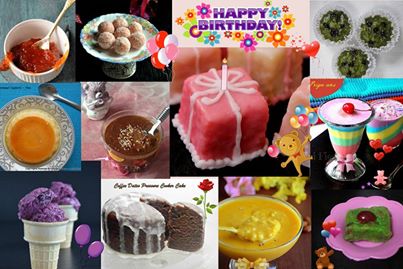
Here is a collage of all the recipes done by our lil group of friends :-) +Divya Pramil +Divya Prakash, +Sangeetha M , +Sangeetha Priya, +Preeti Tamilarasan, +Manjula Bharath +Vijayalakshmi Dharmaraj, +nalini suresh , Shama Nagarajan and Pradeeka
Our Award for Priya Suresh Aks, we feel honored at the same time humbled to give you an award aks. We truly believe that this award is something you truly deserve and it sure will be something unique.